Hi there! Thanks for dropping by for my project in this 5th Hop. We are a group of Stampin’ UP! Demonstrators mainly from Norfolk, but I’m privileged to be a Kent Honorary Member of the team along with my Upline, Sarah Keerie.
This month’s theme is ‘Deck The Halls’, in honour of our latest Catalogue and with Christmas rapidly creeping up on us. My Wish List for this one was rather lengthy 😂 and I have been busy making cards for not just Christmas, but other occasions to show how versatile these sets can be.
I’ve chosen to show you a selection of cards using the Painted Autumn Suite, which can be found on pages 48 & 49 of the Catalogue. You are probably thinking something along the lines of ‘what on earth do Sunflowers have to do with Christmas?’ Well, this set can be used for occasions all year round, and not just as Sunflowers 😉
So here is my first card – the Christmas one, which I CASEd from Ann Lewis. I did alter the sizes slightly to make the card 4″x6″ (Ann is In Australia, so their paper and card sizes are slightly different to ours here in the UK).

I used Tranquil Tide and Emerald Envy Inks for the petal layers, and Real Red Ink for the centres. Any white areas were covered by using the ‘nut’ part of the Acorns with Early Espresso Ink. The ’tis the Season’ stamp comes from the special Host Promotion Set – Merry Patterns – which is included free for the Host in all orders over £250 placed before 31st October 2017, so you still have a couple of weeks to qualify for a set (see my website for full details). The outline was stamped using Early Espresso Ink, then the pattern added using Real Red Ink. The base card is made from Real Red Cardstock with a mat layer of Early Espresso Cardstock.
My second card is for a Birthday, and features the stamps as they were originally intended – Sunflowers. My thanks to to JanB for the inspiration for this card.
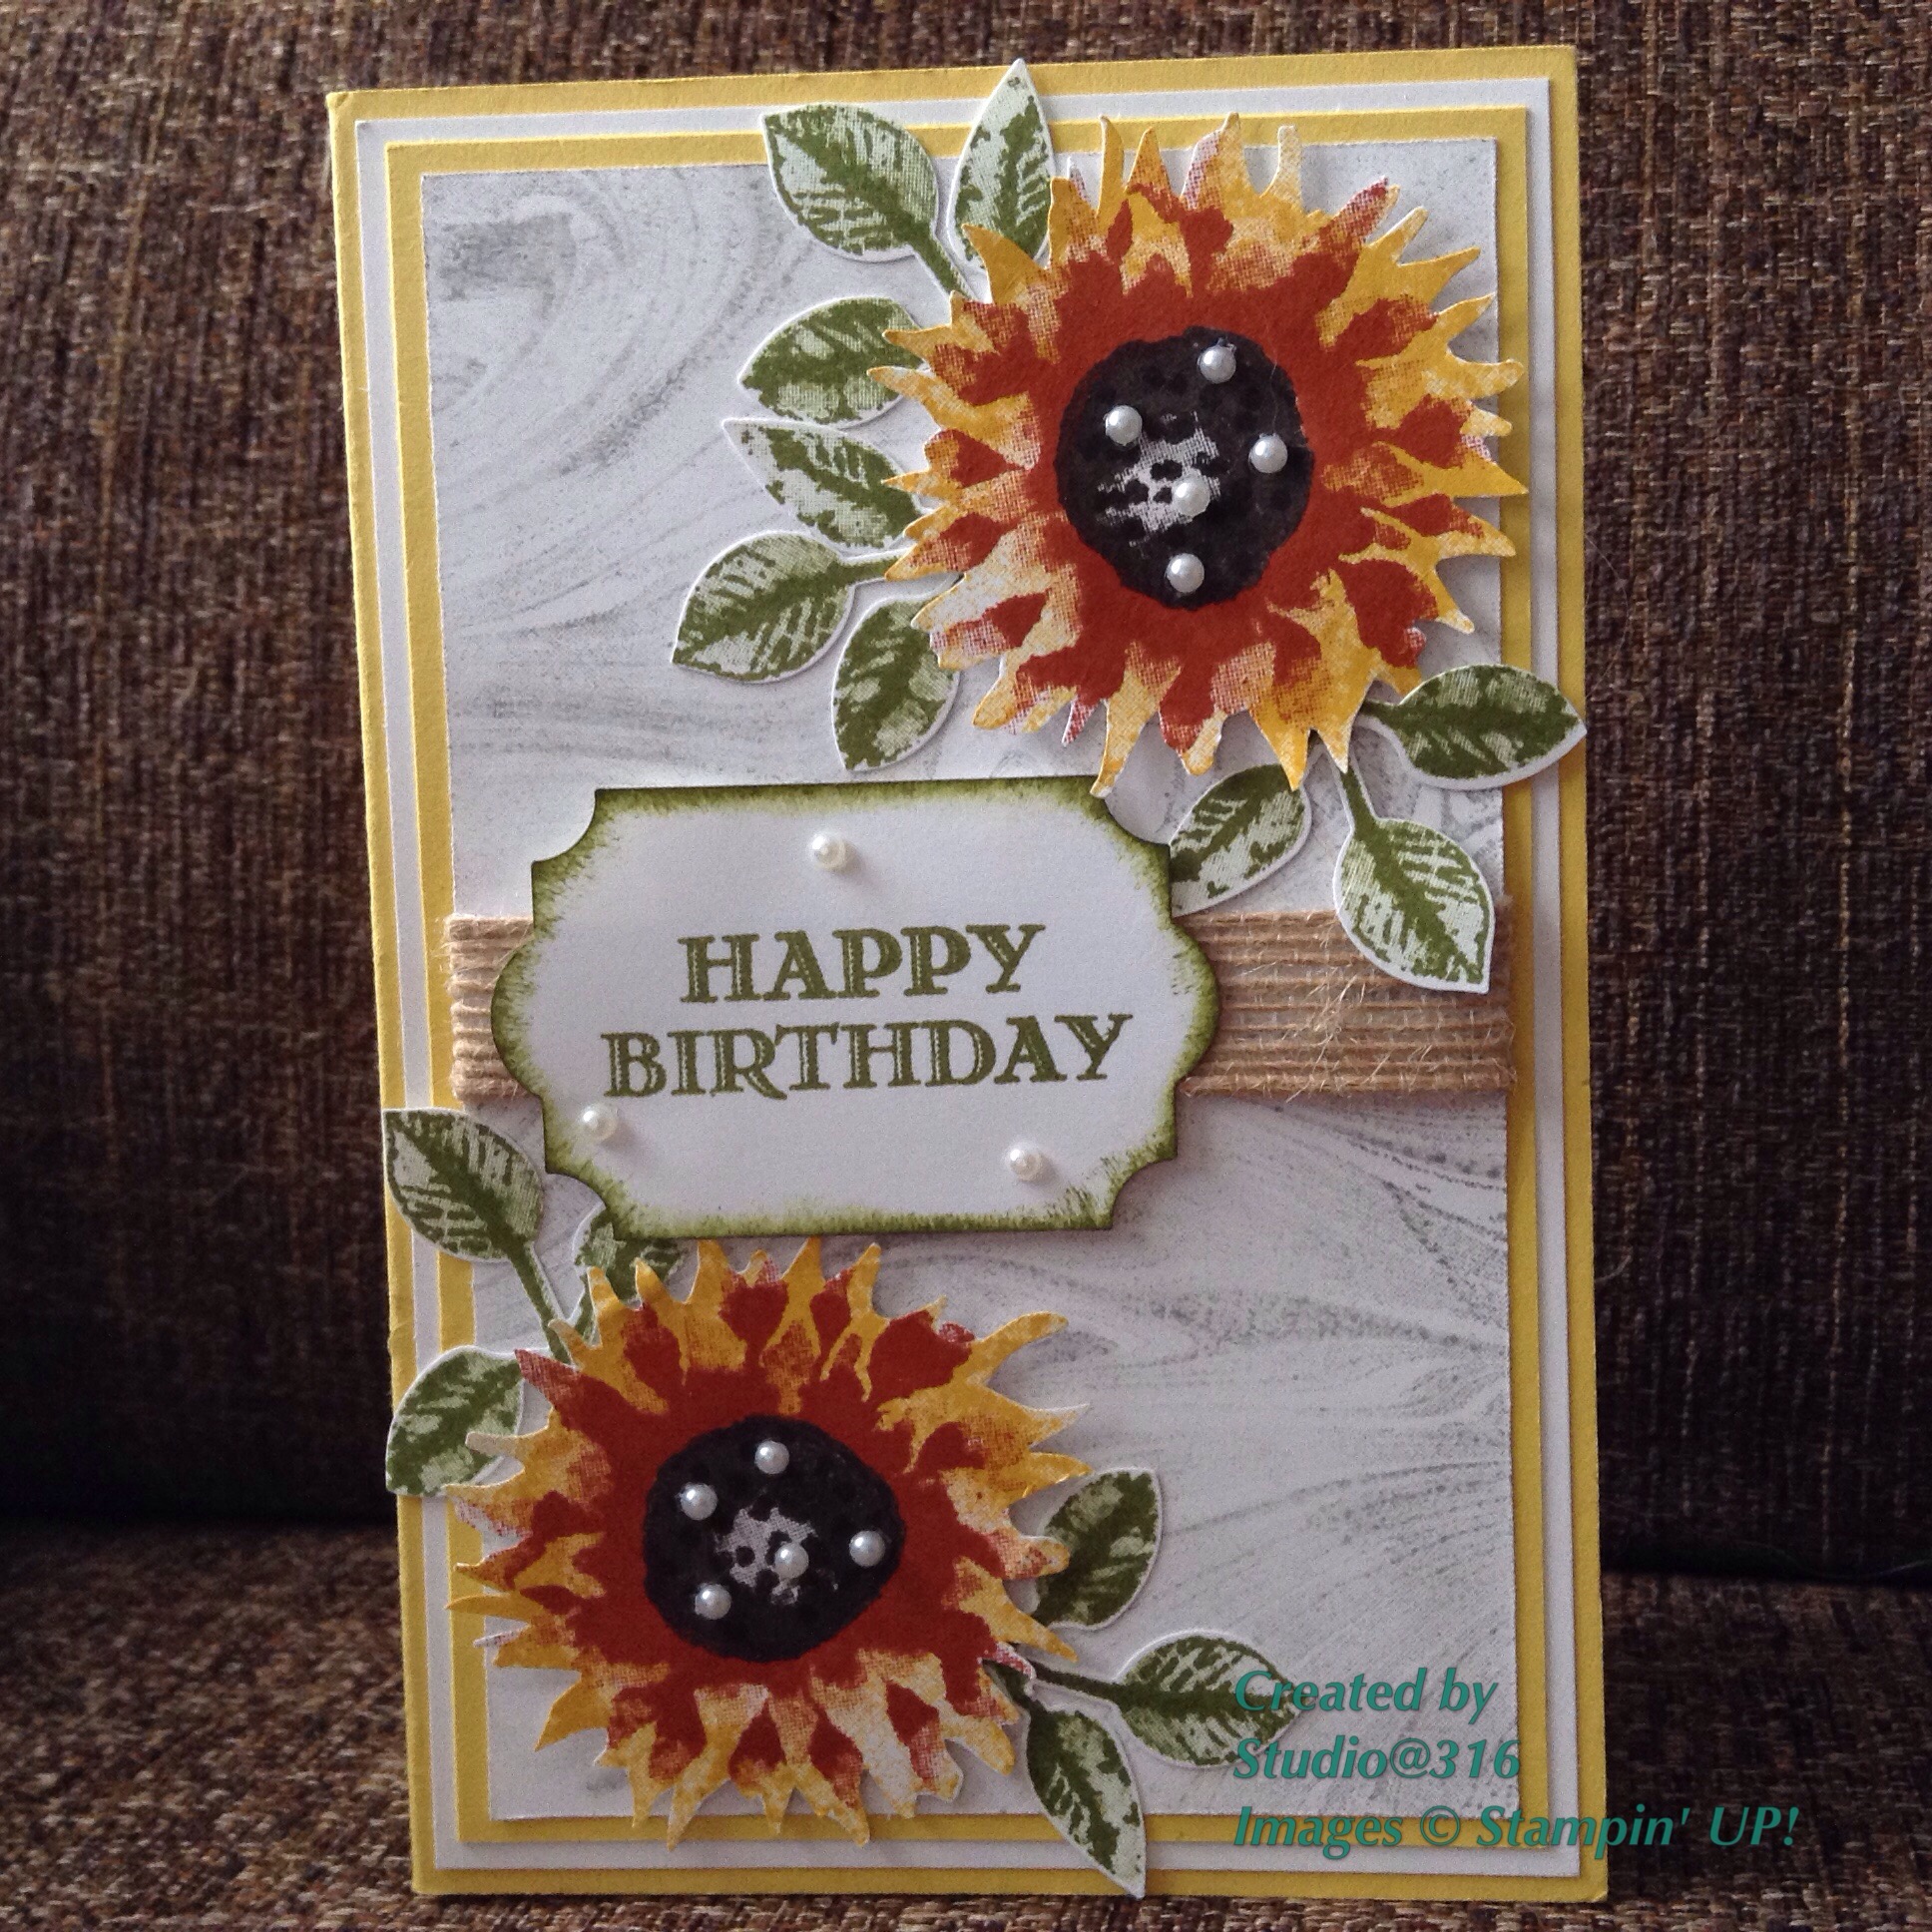

For this card I used Crushed Curry and Cajun Craze Inks for the two layers of petals, then Early Espresso Ink for the centres, including the little dots. The leaves were stamped with Pear Pizzazz Ink as the main layer and Old Olive Ink for the detail.
To finish off I used the Happy Birthday Stamp for the Guy Greetings Set and arranged all the pieces on a mat layer stamped using the Marbled Background Stamp and Smoky Slate Ink which I stamped off to give a lighter impression. As a final flourish, I added a length of Burlap Ribbon across the centre of the Marbled Mat, and some Pearl Jewels on the centres of the sunflowers and on the sentiment.

I wasn’t too sure about this card when I first made it, but the more I look at it, the more it grows on me.
This watercolour technique I CASEd from Billie Moan adding in a Watercolour Smooshed Background which can be found all over YouTube 😉
I used Powder Pink, Blushing Bride and Real Red Inks for the background, and the same colours for the flowers as the second card. These were applied to a piece of wet Watercolour Paper, and spritzed again after stamping to aid the running of the colours. Being impatient, I dried the whole thing using my Heat Tool, added a length of Gold Natural Trim and a bow then matted it onto a piece of Blushing Bride Cardstock and then a 6″x4″ card base made from Very Vanilla Thick Cardstock.
My final card is a little different 😜
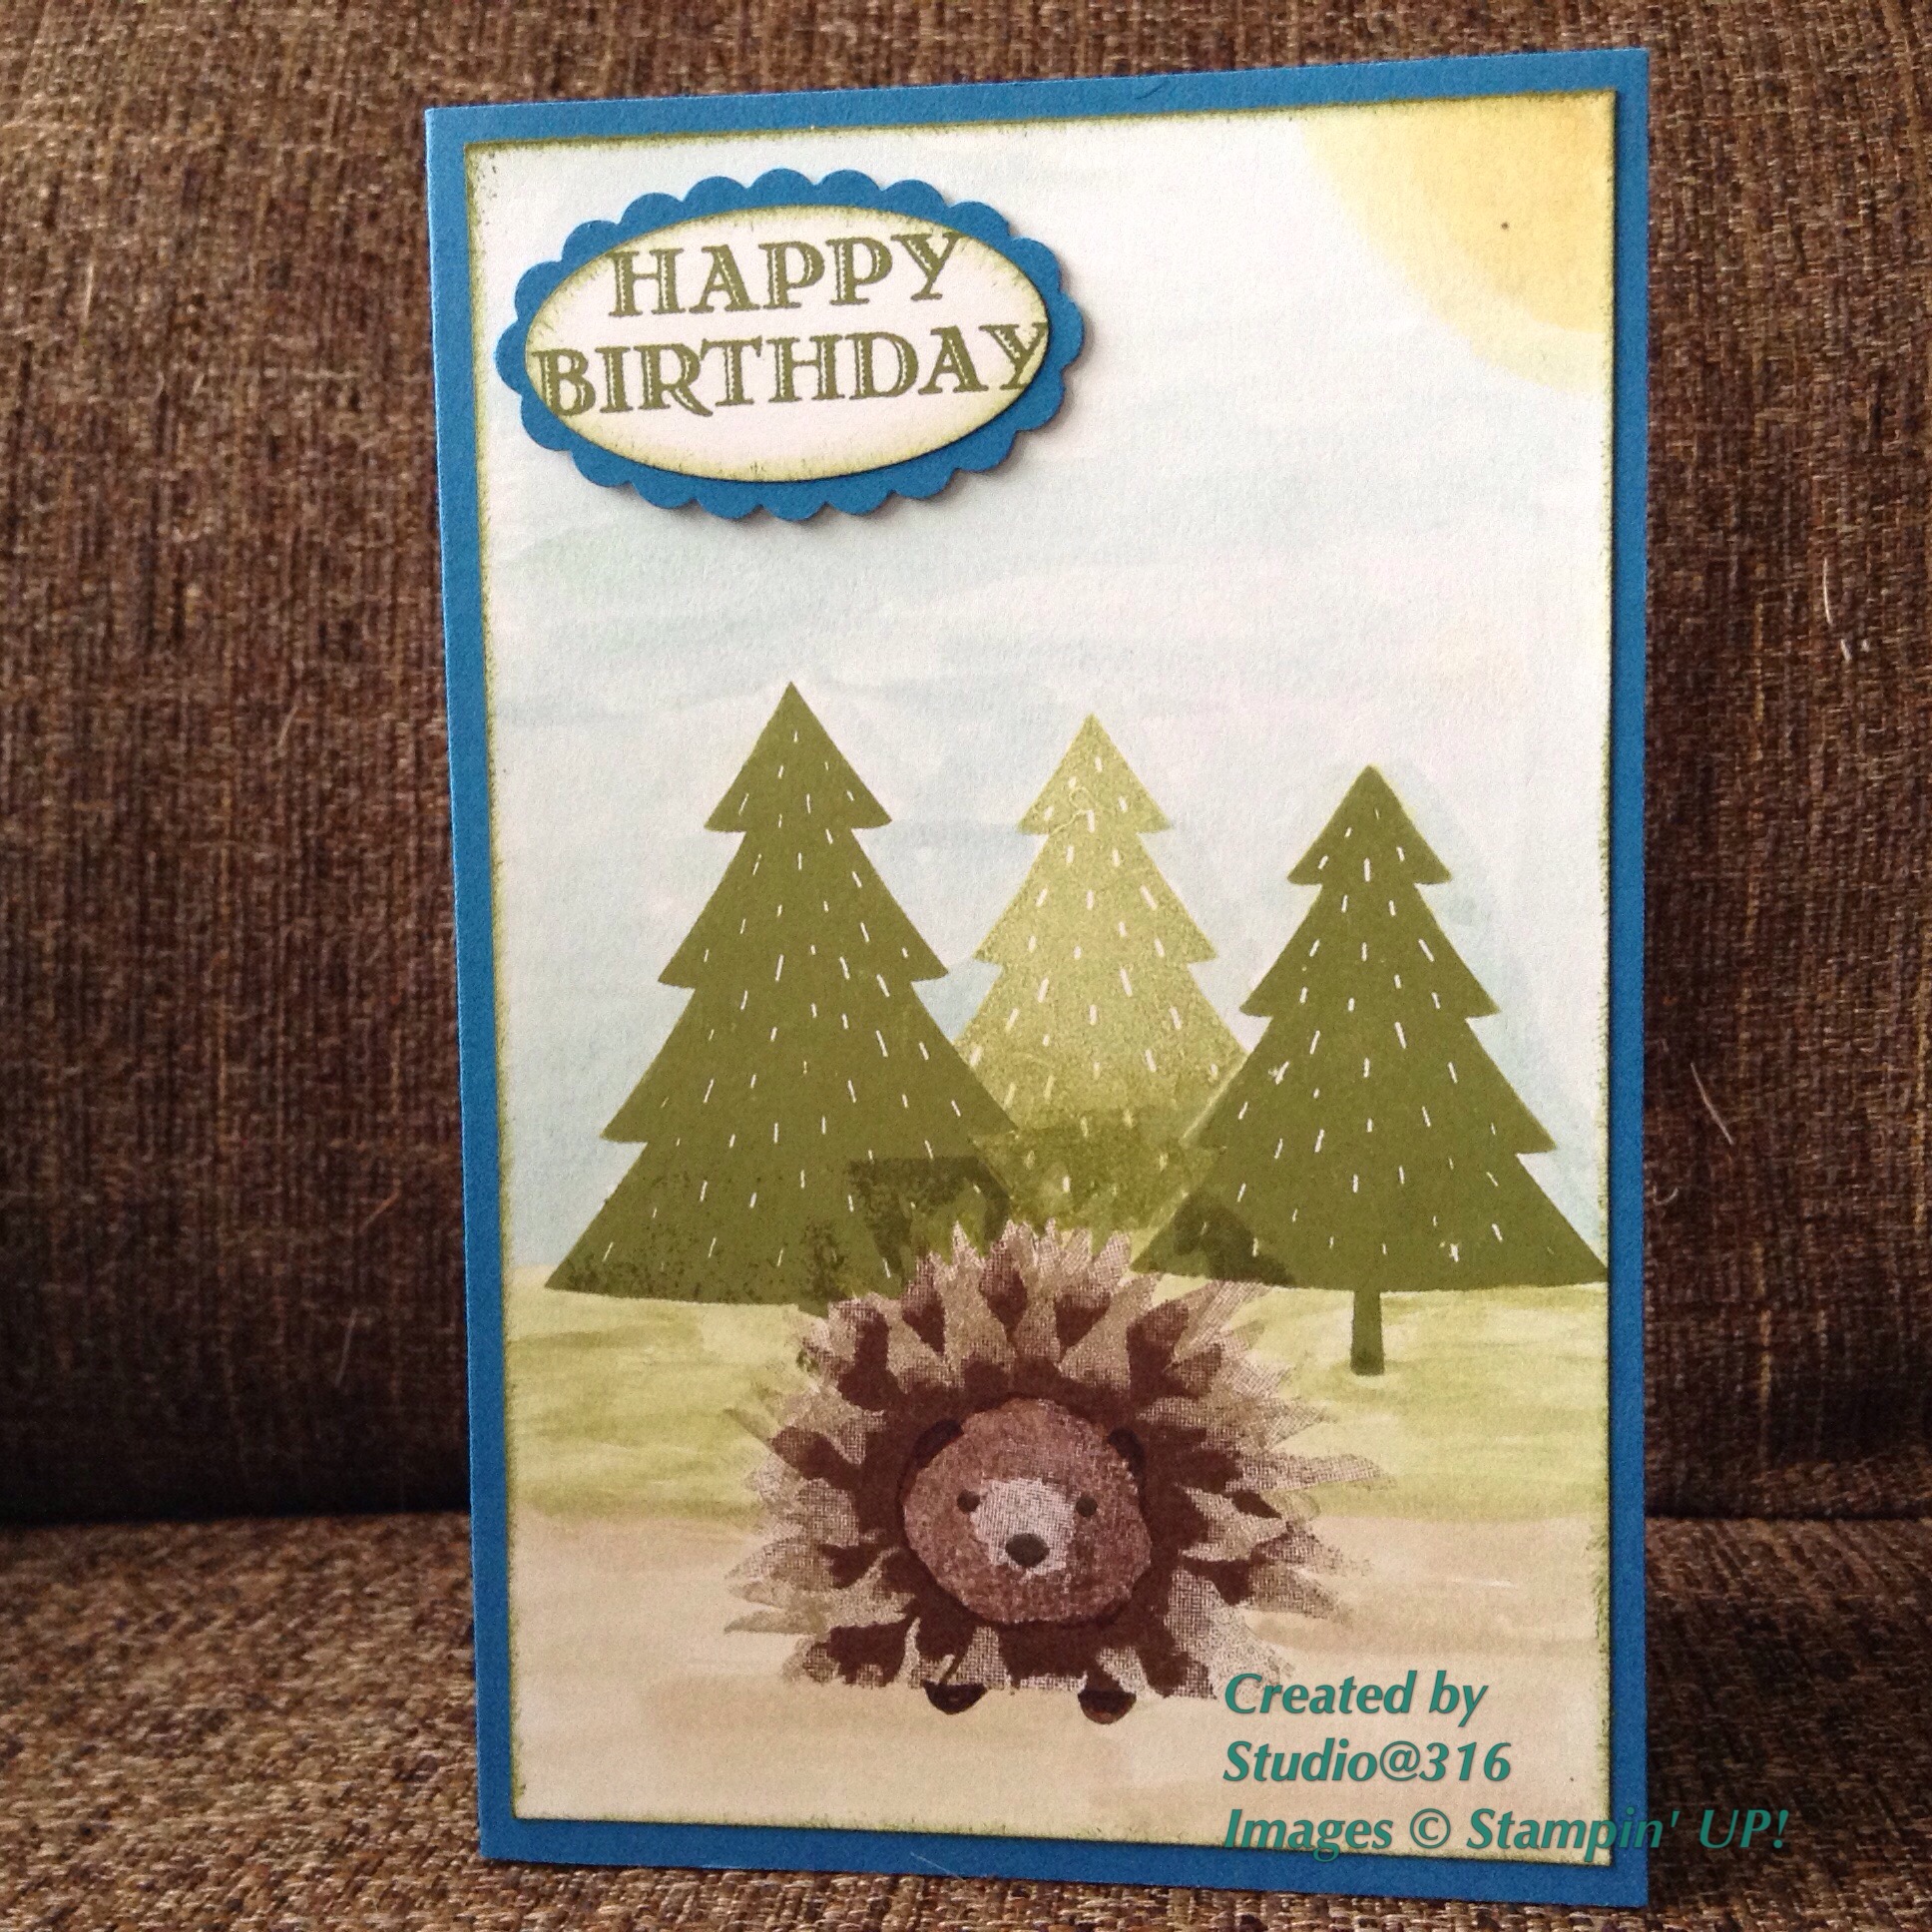

I’m afraid I can’t credit this little guy to anyone, as he appears to have run off my Pinterest Board 🙄, so if I’ve CASEd your Hedgehog, please leave a comment so people know where my inspiration came from as it’s seriously cute!
I stamped the petal layers in Crumb Cake and Chocolate Chip Inks, then the middle in stamped off Chocolate Chip. The face came from the Foxy Friends Set and I drew in the ears and feet with an Early Espresso Stampin’ Write Marker. The background trees also came from the Foxy Friends set using Pear Pizzazz and Old Olive Inks, and the rest of the colours were applied as a watercolour wash using (top to bottom) So Saffron, Soft Sky, Pear Pizzazz and Crumb Cake Inks and an Aqua Painter which I LOVE!!
On the close up photo you can really see the detail of the petals – I really enjoy playing with this set, and Im looking forward to trying out more animals 🤔
I hope you’ve enjoyed your visit – I’ve made loads more cards using products from the Autumn/Winter Catalogue, so subscribe to follow my blog at the top of the page so you don’t miss the updates.
If you like to have a go at making some of these for yourself, you can buy the supplies used from my 24/7 Online Shop.
One last thing before you hop on over to Sandra’s Blog, I’d love to hear your comments 😘
Happy Stampin’
Babs xx


